KOOKABURRA TATTOO
STEP 1: Reference images and Consultation:
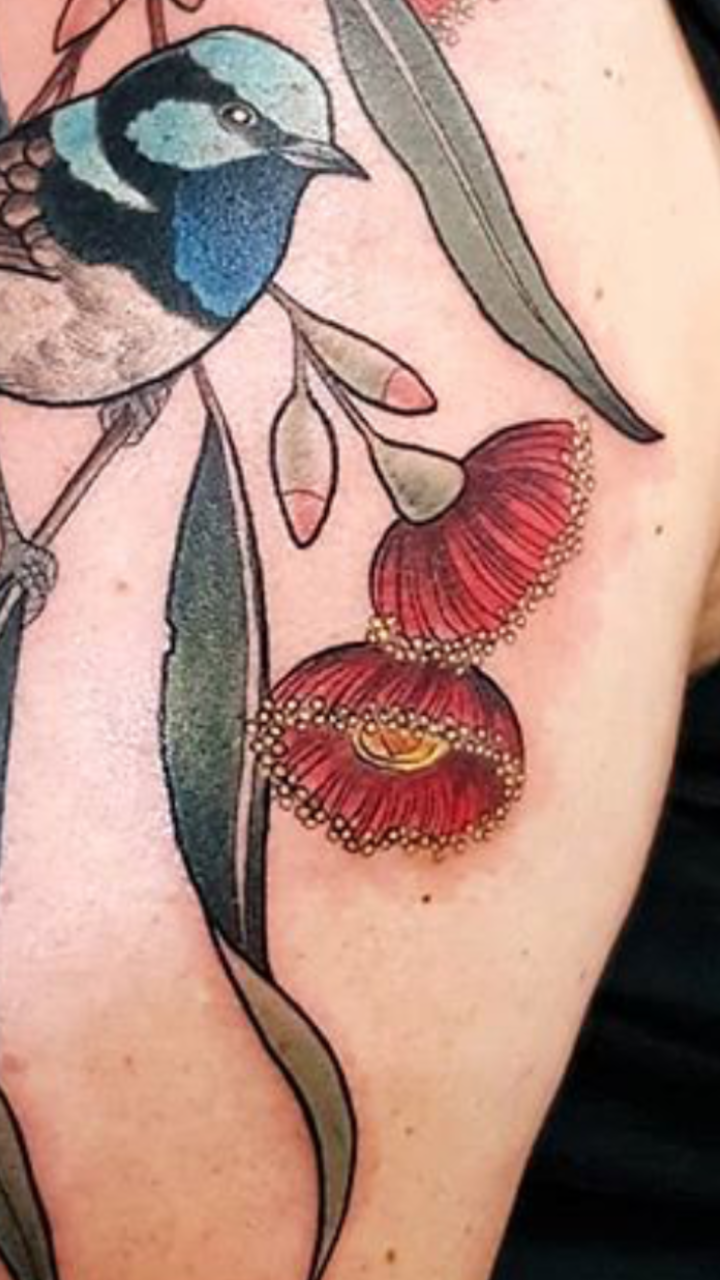
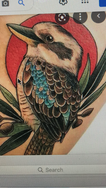
Eve had an Australian client with a vision for her new tattoo. A number of reference pictures were sent by the client, including the two below, with a consultation on the content and style preferred for the new piece. As always, our goal is to deliver the clients vision. These images are internet sourced by the client of other tattoo artists work that they like.
Eve had an Australian client with a vision for her new tattoo. A number of reference pictures were sent by the client, including the two below, with a consultation on the content and style preferred for the new piece. As always, our goal is to deliver the clients vision. These images are internet sourced by the client of other tattoo artists work that they like.
Step 2: Art Prep:
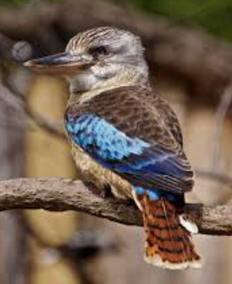
A photograph of a great actual kookaburra was sourced by Eve to base the tattoo on, shown below, and approved by the client, with discussion on how it would be stylised (and given a fluffier head top). A quick sketch of layout was produced, to enable a basic line stencil. This is where our clients have to take a wee leap of faith, as it's rather rough. Producing a quality sketch at this point would dramatically increase the prep time for the tattoo and drive up our prices, and is completely unnecessary for the finished product - (unless it was, for example, Celtic knot work). As the stencil is taken from this, being hand drawn at the time of the tattoo, refinements are possible at that point.
A photograph of a great actual kookaburra was sourced by Eve to base the tattoo on, shown below, and approved by the client, with discussion on how it would be stylised (and given a fluffier head top). A quick sketch of layout was produced, to enable a basic line stencil. This is where our clients have to take a wee leap of faith, as it's rather rough. Producing a quality sketch at this point would dramatically increase the prep time for the tattoo and drive up our prices, and is completely unnecessary for the finished product - (unless it was, for example, Celtic knot work). As the stencil is taken from this, being hand drawn at the time of the tattoo, refinements are possible at that point.
Step 3: The tattoo:
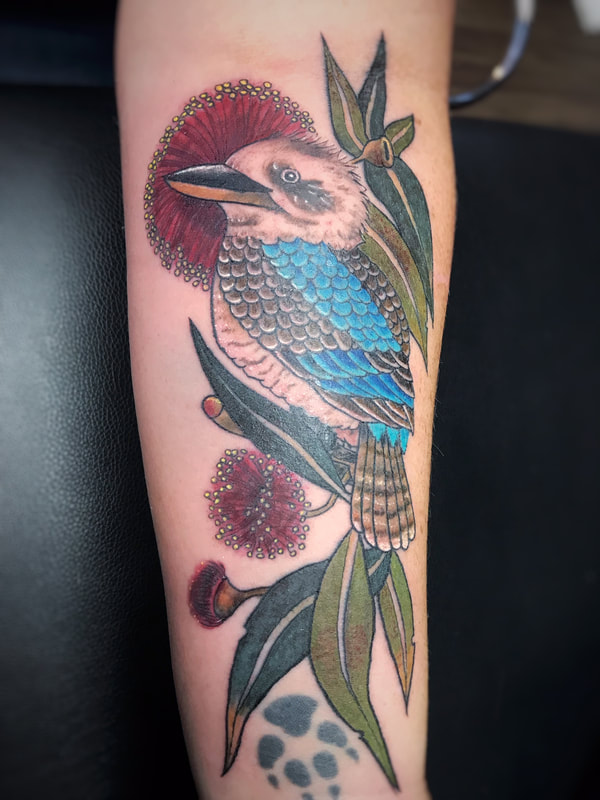
Adjustments are made with pen on skin to accommodate the existing tattoo and flow with the space, and photographs of the actual kookaburra, gum nuts and blossoms etc are at hand for reference. Colours and tones are discussed and agreed. Packed colour can be a little gritty but our client endured bravely. The finished piece:
Adjustments are made with pen on skin to accommodate the existing tattoo and flow with the space, and photographs of the actual kookaburra, gum nuts and blossoms etc are at hand for reference. Colours and tones are discussed and agreed. Packed colour can be a little gritty but our client endured bravely. The finished piece:


